Do you want to know How to Unroot Samsung Galaxy M21? Yes, then you are in the right place. Today, in this article, I will show you Five easy methods to Unroot your Samsung Galaxy smartphone.
If you have rooted your Samsung Galaxy M21 phone and want to Unroot, then here is the easiest way. Follow all the steps carefully.
Page Contents
Why To Unroot Smartphone?
Sometimes rooting your device can make your smartphone unstable. This means you will face various issues like a performance issues, banking apps not working, the phone lags very much. So, to resolve this problem, you can Unroot your Samsung Galaxy phone, and your phone will be back to normal.
If you are facing issues after Rooting your Samsung Galaxy M21 device, then the best way to fix those issues is by simply Unrooting. It will fix all your problems.
Advantages of Unrooting the Samsung Galaxy M21
- Once you have Unrooted your Android, you will be able to use banking apps.
- You will get back your phone, Warranty.
- All the Google Apps will work on your Samsung Galaxy M21 without any issue.
- You can now receive OTA Updates.
Must Read: Install Stock ROM on Samsung Galaxy M21
Let’s Unroot the Samsung Galaxy M21 Android Phone
Before we proceed to Unroot your Samsung Galaxy M21 smartphone. Make sure to follow the essential points before moving to the steps:
- Make sure your phone has a good Internet connection.
- Fully charge your phone.
- Some methods require a PC, so you must have a PC/ Laptop with you.
- Only use an original USB cable to connect your phone to the PC.
- This guide is only for the Samsung Galaxy M21 smartphone. Please do not try this on any other android phone.
Disclaimer: All the tutorials/ guides shown in this blog are not tested for each and every smartphone. As the Unrooting process is almost the same for every smartphone.
If anything happens to your smartphone RootingSteps.com is not responsible for loss and damage to your smartphone. Try these methods with your own risk!
Unroot Samsung Galaxy M21 By Magisk: METHOD 1
- First, make sure you are connected to the internet.
- Now open the Magisk App from the app screen.
- Tap on the “Uninstall” button, which is located at the bottom of the screen.
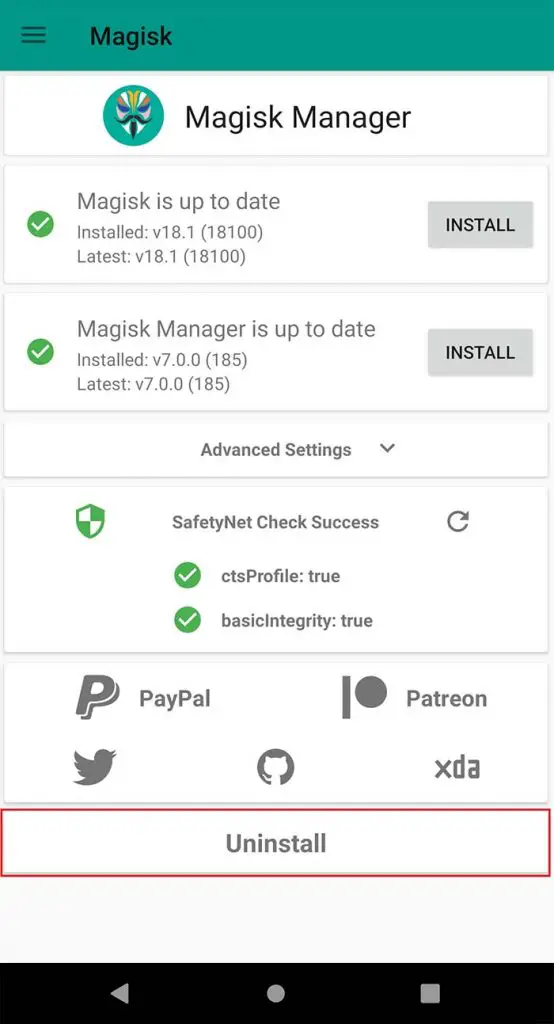
- Now you will get a pop-up dialog box, select the “Complete Uninstall” button.
- Wait for a few minutes
- That’s it. You have successfully unrooted your Samsung Galaxy M21 android phone.
Also Read: Unlock Bootloader on Samsung Galaxy M21
Unroot Samsung Galaxy M21 By SuperSU: METHOD 2
- First Open the SuperSU app from the app screen.
- Now Go to Settings.
- Select the Full unroot option.
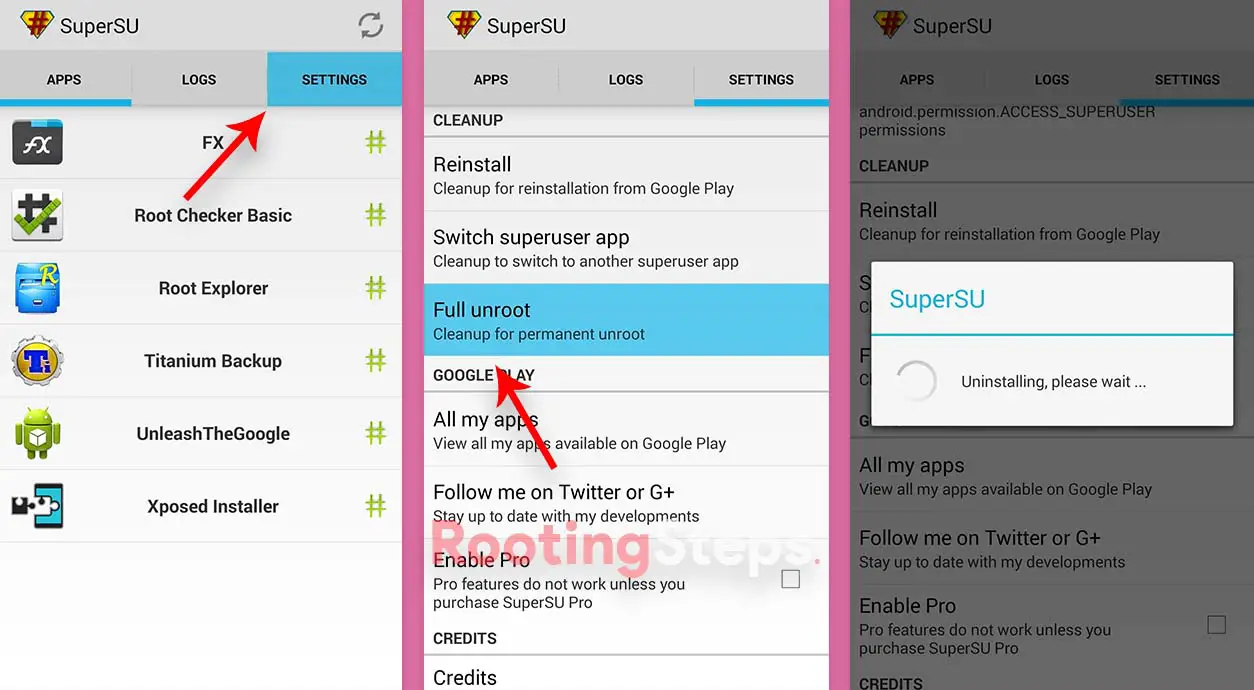
- Wait for a few minutes.
- Your Samsung Galaxy M21 will reboot.
- And Congrats, you have completed the Unrooting process.
Also Read: Install TWRP Recovery on Samsung Galaxy M21
Unroot Samsung Galaxy M21 With KingoRoot App: METHOD 3
- Make sure your phone has a stable Internet connection.
- Download and Install KingoRoot App.
- Launch the “SuperUser App” from the app screen.
- Now you need to update Kingo SuperUser to the latest version.
- Once done, tap on the three dots that are located at the right top of the Kingo SuperUser App.
- Select the “Remove Root” option.

- Wait for the process completes, and then your Samsung Galaxy M21 will reboot.
- You have successfully unrooted the Samsung Galaxy M21 smartphone.
Must Read – Various Issues on the Samsung Galaxy M21 & How to Fix Them
Unroot Samsung Galaxy M21 Using PC: METHOD 4
- First download KingoRoot PC software and install it.
- Connect your Samsung Galaxy M21 device to a PC/ Laptop using an original USB cable.
- Double-click on the KingoRoot application to launch it.
- Now select the “Remove Root” option.
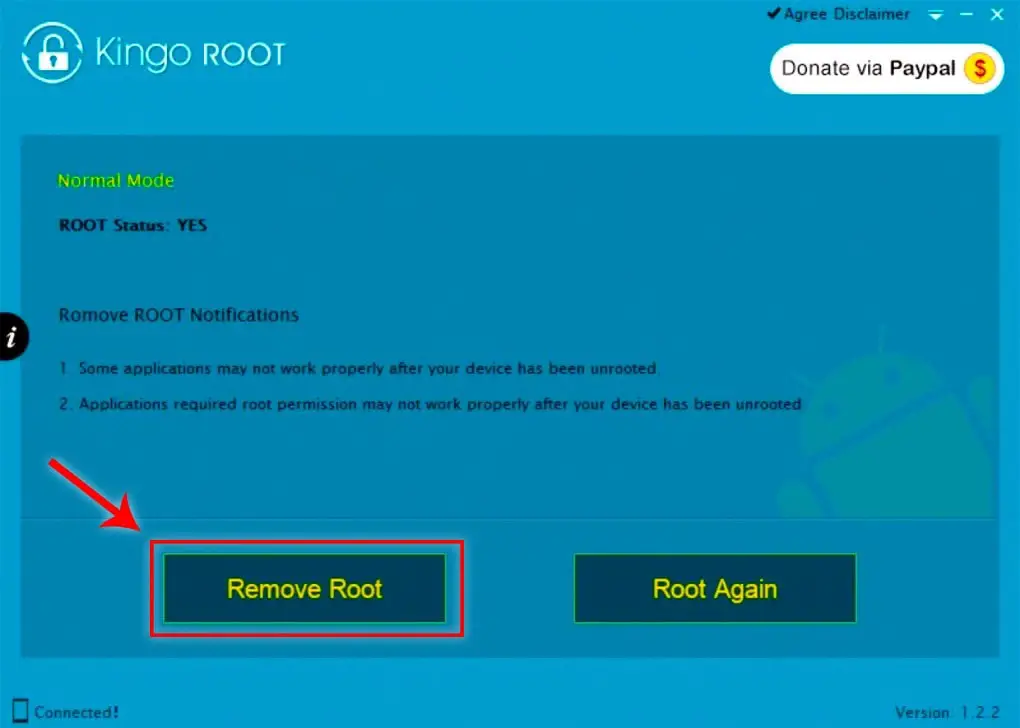
- The process may take around take 3 to 5 minutes to complete. Please do not remove the USB cable to let the process complete successfully.
- Once the process completes, you will see this message, “Remove ROOT Succeeded!”.
- That’s it. You have successfully Removed Root from your Samsung Galaxy device.
Related: How to Install Custom ROM on Samsung Galaxy M21. (Custom ROM File May Or May Not Be available as per the development)
Unroot Samsung Galaxy M21 Via KingRoot App: METHOD 5
- First, download KingRoot App on your Samsung Galaxy M21 phone.
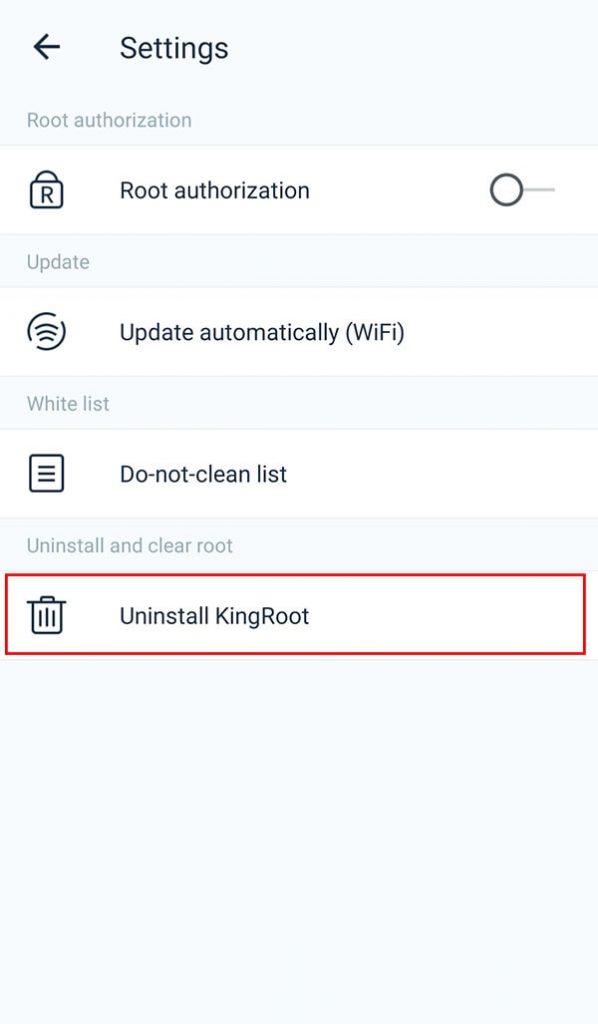
- Install it and open the app, tap on the “Setting” option.
- Tap on the “Uninstall Kingroot” button.
- Now you will get a popup dialog, tap on “Continue.”
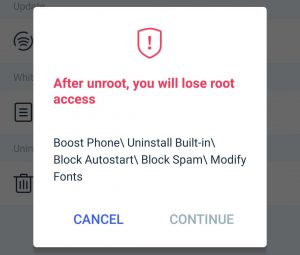
- That’s it. You have unrooted your device.
Now that you have successfully unrooted your phone. You want to check whether the phone is unrooted or not. Follow the below steps:
- Download Root Checker App from Google Play Store.
- Open the app.
- Click on “Verify Root.”
- You will get a message “Root Access Not Found”. That means you have successfully unrooted your phone.
Conclusion
I have provided you with five easy methods to Unroot your Samsung Galaxy M21 device. I hope this guide helps you. Please leave a comment on which method works for you.
Moreover, share your valuable feedback and queries in the comment section. I will try my best to answer all your questions quickly.
I look forward to seeing you in the next guide.